Getting started
Before you begin, you'll need to install the Nitric CLI.
brew install nitrictech/tap/nitric
For more installation options and dependency information review the full installation guide.
Using the new command
The Nitric CLI's new command provides prompts to scaffold new projects from templates. Here's an example of creating a new project from a template:
nitric new hello-world ts-starter
Navigate to the new project directory and install the dependencies:
cd hello-worldnpm install
Your project should now look like this:
+--services/| +-- hello.ts+--node_modules/| ...+--package-lock.json+--package.json+--nitric.yaml+--README.md
Running the app locally
Nitric provides a local development server offering emulated versions of cloud services, suitable for local development/testing. You can use the Nitric CLI to start the local server using the nitric start command.
nitric start
Nitric will automatically run your application using the service start command from the nitric.yaml file.
Once your services are running, they will register themselves with the server. Resources like HTTP APIs and Websockets will be hosted on their own port, which will also be displayed in the CLI output as http://localhost:<port_number>.
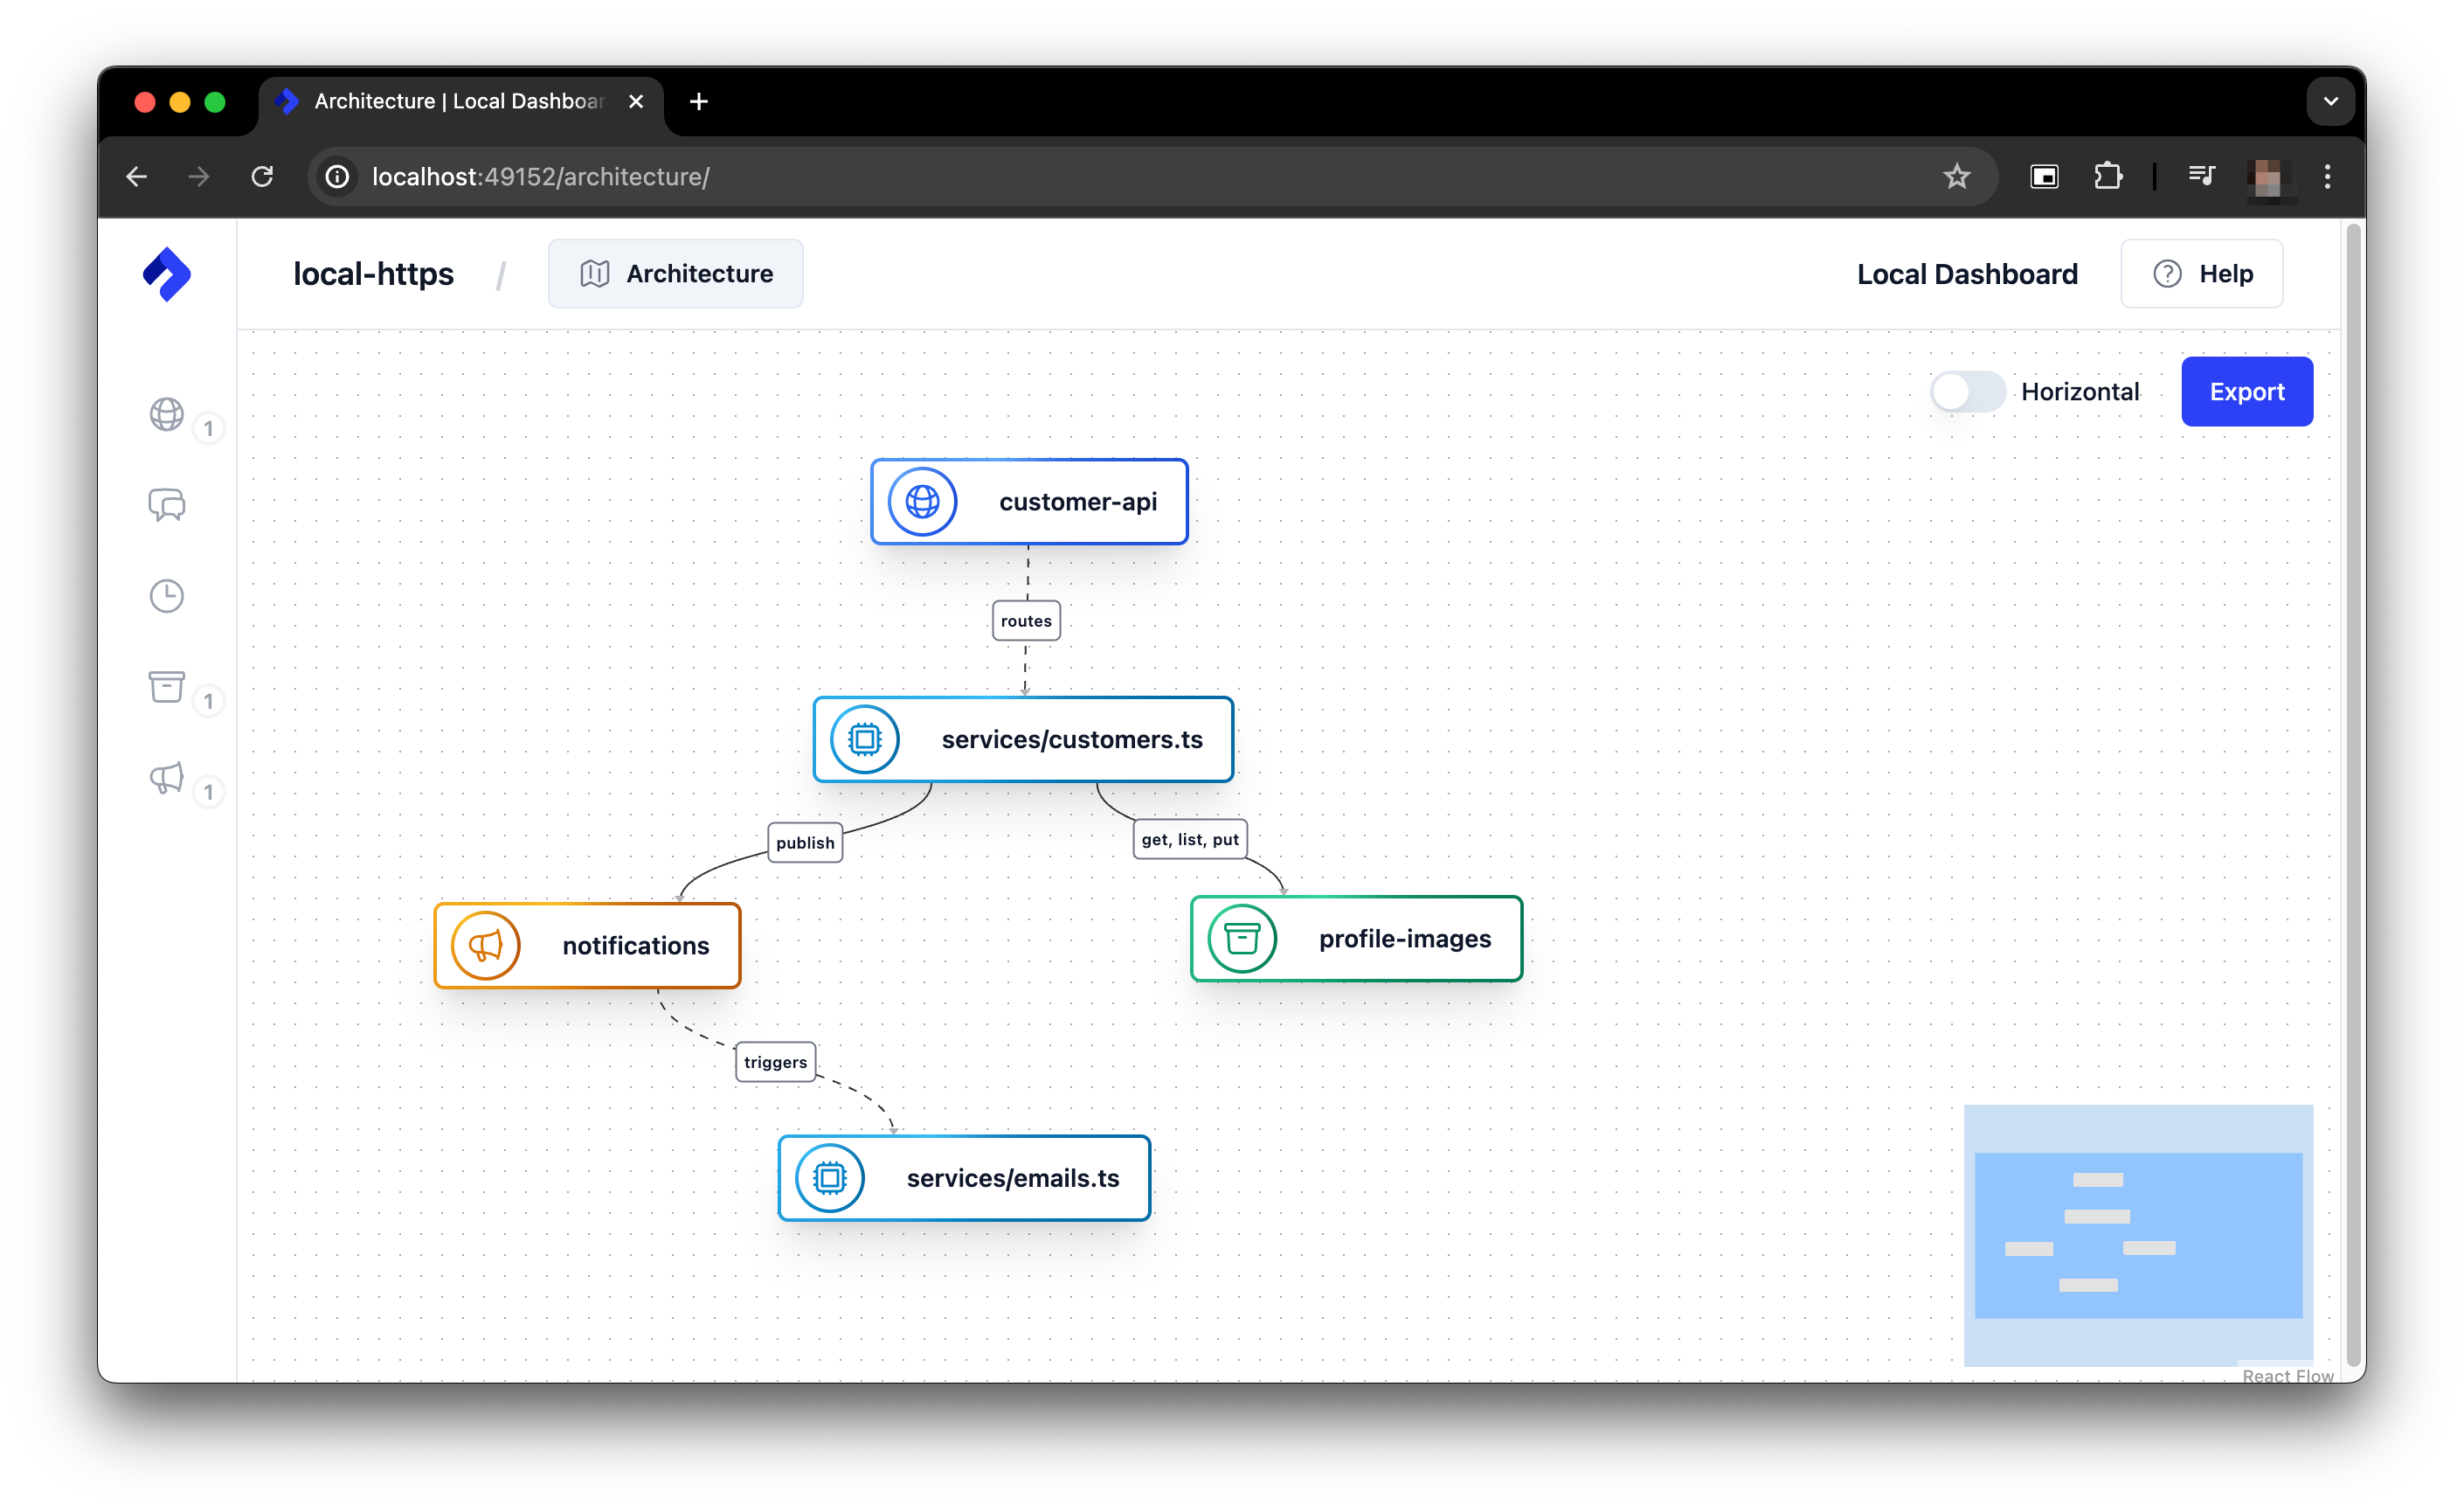
The output will include a link to the Local Dashboard, which automatically refreshes with details about all the resources your application uses (e.g APIs, Buckets, Topics, Databases, etc.).
You can use the automatically generated HTTP client in the dashboard or any other HTTP client to test your APIs. For example, you can use curl to test the hello service:
curl http://localhost:4001/hello/JohnHello John
The local dashboard provides real-time visualization of the application's resources, along with useful testing tools. We recommend taking a look at the Local Dashboard documentation to learn more about its features.
Making updates
Nitric's project templates typically include hot-reloading by default, so at this point, you can start making changes to services and see what happens.
Start by opening the hello service in your editor and adding a new route to the API, then save, and execute the file:
import { api } from '@nitric/sdk'const helloApi = api('main')helloApi.get('/hello/:name', async (ctx) => {const { name } = ctx.req.paramsctx.res.body = `Hello ${name}`return ctx})// Let's add a 'goodbye' route to the API, like this:helloApi.get('/goodbye/:name', async (ctx) => {const { name } = ctx.req.paramsctx.res.body = `Goodbye ${name}`return ctx})
Depending on the language you choose the template may support hot-reloading, if not you'll need to restart the service.
After saving the file, the new route will be registered and you can test it:
curl http://localhost:4001/goodbye/JohnGoodbye John
When you're finished testing, you can stop your application and the Nitric Server.
Deploying the app
Now that you've implemented a basic API and tested that it works, you can deploy it to one or more cloud platforms. Applications built with Nitric can be automatically deployed and run to different cloud providers without any code changes, thanks to Nitric Provider Plugins.
The first step is to configure your credentials for the cloud provider and any prerequisites for the provider plugin you want to use:
You'll then need to create a stack file, which represents a deployment target for your application.
The stack new command can help you create a new stack file, with prompts to guide you through selecting a provider plugin and naming the stack:
nitric stack new
For this example we'll create a new stack named dev that uses the aws provider, but you can choose a different name and provider if you prefer.
Once you've created your stack file, you should see it appear in your project directory as nitric.[stack ID].yaml. In our case the file is named nitric.dev.yaml.
Edit this file and set any remaining configuration options, such as the region you'd like to deploy to e.g. us-east-1 for AWS.
Now you can build your application and deploy the stack with the up command.
nitric up
Typically, when the deployment is complete any relevant URLs will be displayed in the CLI output. You can use these URLs to interact with your API. You can also use the relevant cloud console (e.g. https://aws.amazon.com/) to see the deployed resources.
To deploy any changes you make to your application, you can use the up command again. Nitric will automatically detect the changes and update the deployed resources.
When you're finished with your application, you can tear it down using the down command:
nitric down
What's next?
- Learn more about APIs
- Learn more about the foundations of Nitric